Welcome to my first ever newborn photography mentoring blog where I will give you great tips on how take your newborn photography business to the next level. If you would like more tips feel free to check out my newborn photography video my courses.
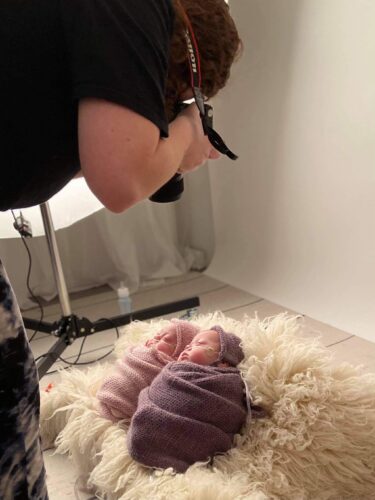
Planning
Proper planning prevents pretty poor performance. The first thing I do for every single session that I have is write down a list of all the poses that I plan to do and prep all of the props, layers and accessories ahead of time. This saves me so much time and energy during my session. I also set them out in the same order that I intend to shoot them. I also set my camera settings, charge my batteries, clean my lens, test my light and triggers before every session. When I first started out I would also save an inspo image for each pose so that I could reference it during the shoot when needed. Send me an email at [email protected] if you would like to purchase my newborn wrapping workflow video course.
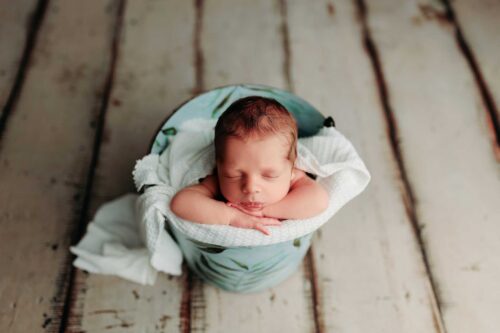
Wrapping
In the first step you will lay out all of the wraps that you intend to use during your session. Always plan from your last wrapped pose to your first so that you don’t have to rewrap the baby and can maximize your variety of posing. You can watch my tutorial wrapping videos and see how I can complete all of my newborn sessions in under 2 hours here.
Lighting
Taking photos is simply turning light into an image. So the quality of your light is critical to the success of the overall image. Bad light = bad photo. Every time. I use an LED light wall and an einstein strobe with a 8 foot, double diffused parabolic umbrella. Until you are ready to invest in a high quality light I recommend sticking with natural light. The very best light is soft diffused light. So you want to be near a window, but not having a harsh ray of light on your subjects skin. Outdoors it’s best to only shoot during the first hour and a half of the day, or an hour and a half till dusk.
Posing
Safety is the most important part of newborn photography. You want to make sure that your eyes are on the baby at all times, that you are using a lens that allows you to stay within arms length of the baby at all times, and that you have had proper training before you begin photographing newborns. You need to ensure that the baby’s head and neck are fully supported and that their chin is never resting on their chest as this can cut off their air supply. Always be watching your babies skin tone, if it is turning blue or purple stop immediately and get your baby into a comfortable position.
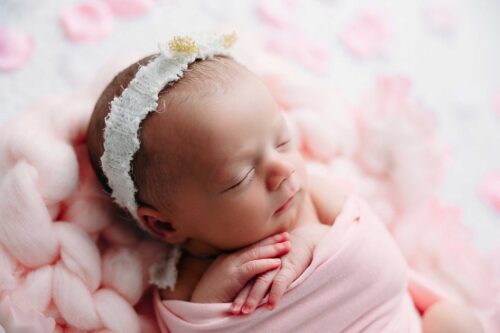
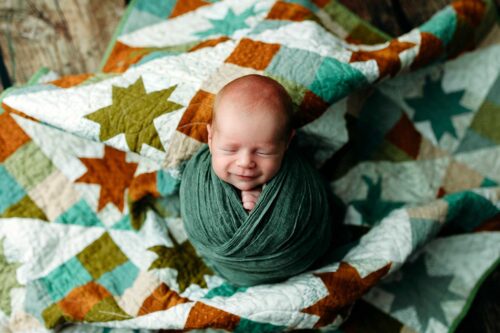
Shush, Swaddle, Sway.
The Three SSS’s of the Baby whisperer. Newborns love being warm, swaddled, rocked and soothed with white noise. I wrap my babies up nice and snug at the beginning of every session and it sets the tone for the entire session. If your baby is unsettled pat them, rock them and shush them. If you baby is awake and calm, wrap them up and start your session. Waiting for them to fall asleep will waste precious time.
Equipment
There is a lot of debate amongst photographers as to which camera and lens set is the best. I personally believe that any brand will work so long as you have a full frame camera and a high quality glass lens. I personally shoot with Canons R6 camera and a 28-70 lens. If you do not have a mirrorless camera I would recommend sticking with a fixed focal length lens because DSLR’s struggle with sharpness in zoom lenses.
Editing
The goal in photography is to get images as good as possible in camera so that you don’t have to waste time fixing things in Photoshop. However when used correctly editing is the final *chefs kiss* on your photos that will take them from good to amazing! I always start my images off in Lightroom with a solid preset. If you haven’t used presets or haven’t found one that you like on your images, I offer a photo editing consultation where I will create a custom preset for your images for Lightroom and walk you through the actions I would use to finish the edits in Photoshop.